
Urbandale Epoxy Flooring installs epoxy garage floors in Urbandale, IA, serving surrounding cities including Clive, Grimes, Windsor Heights, Johnston, West Des Moines. With 20+ years of grinding and coating central Iowa slabs, we build garage floors that stand up to winter salt, hot tires and dropped tools rather than peeling at the tire paths after the second season.
A garage floor that lasts is mostly preparation. We open the concrete with a diamond grinder, test it for moisture, repair what is cracked or spalled, and only then build the coating in layers to a stated thickness, with each product and coat named in the proposal.
That proposal is the thing to compare when you are weighing quotes. Two bids that both say epoxy garage floor can describe a thin rolled paint and a 100% solids system with a broadcast and a topcoat, and the difference only shows up a few winters later.
What Goes Into a Garage Floor System
Diamond Grinding to a Bondable Profile
The slab is ground with diamond tooling to a concrete surface profile in the range the coating maker calls for, usually ICRI CSP 2 to 3 for a garage system. Grinding removes the weak top layer, curing compounds and oil-soaked cream that a garage slab collects. It also gives the epoxy a uniform texture to grip, which an acid etch cannot match.
We run the grinder with a vacuum shroud and a dust extractor, so the dust is captured at the head rather than drifting into the house. Edges along the walls and around the steps are finished with a smaller grinder so the whole floor carries the same profile.
A 100% Solids Epoxy Base Coat
The base coat is where the floor gets its body. A 100% solids epoxy goes down thicker than a water-based kit product and cures without shrinking as water evaporates, so the film you pay for is the film that stays on the slab.
This coat also wets into the ground profile and seals the pores, which keeps brine and oil from soaking into the concrete below. On slabs with higher moisture readings, a moisture-mitigation primer goes under it first.
Flake Broadcast and a Clear Topcoat
Most garage floors get a vinyl flake broadcast into the wet base, either a partial scatter or a full broadcast to rejection. After cure, the loose flake is scraped and vacuumed off, and a clear polyaspartic or polyurea topcoat locks the chips in place.
The topcoat is the wear layer. It resists the abrasion of tires and boots, holds its clarity in sunlight better than epoxy, and sets the final texture, which we adjust for how wet your garage gets in winter.
Garage Problems We Plan Around
Hot Tire Pickup
A tire coming off a warm drive can soften a thin coating, bond to it and lift it as it cools. It shows up as peeled patches shaped like tire treads, almost always on floors that were etched or merely cleaned. A ground profile, a full-thickness base and a hard topcoat are the combination that keeps the floor on the slab.
Cure time matters here too. A floor that feels hard to the touch can still be soft enough for a hot tire to mark, so we hold vehicles off until the coating has reached the strength the maker specifies, and we tell you the date before the work starts so you can plan where the car will sleep.
Road Salt, Brine and Freeze-Thaw Scaling
From November through March, calcium chloride and rock salt ride into the garage on every tire. On bare concrete that brine soaks in, freezes and expands, and the surface scales into flakes. A sealed, coated floor keeps the salt on top where it can be squeegeed out, and we choose topcoats that hold up to chloride-laden slush.
Where a slab already has scaling, we grind past the loose material and rebuild the low spots before coating. That repair costs less than replacing a floor, but it has to happen first or the scaling keeps lifting under the new finish.
Moisture in Newer Garage Slabs
Under the IRC R506.2.3 exception, a garage slab can be poured without the vapor retarder that sits under the house, so a newer home does not guarantee a dry garage floor. We test every garage slab, starting with an ASTM D4263 plastic sheet and moving to calcium chloride or relative humidity tests when the first reading calls for it.
Cold Garages and Cure Conditions
Epoxy needs warmth to cure, and a slab sitting near the dew point can condense moisture onto a fresh coat and leave amine blush. We measure the slab temperature and dew point spread on the day of the work. In an unheated garage in January that reading often says wait, and we would rather move the date than install a soft, cloudy floor.
Choosing the Look and Finish
Flake Size and Blend
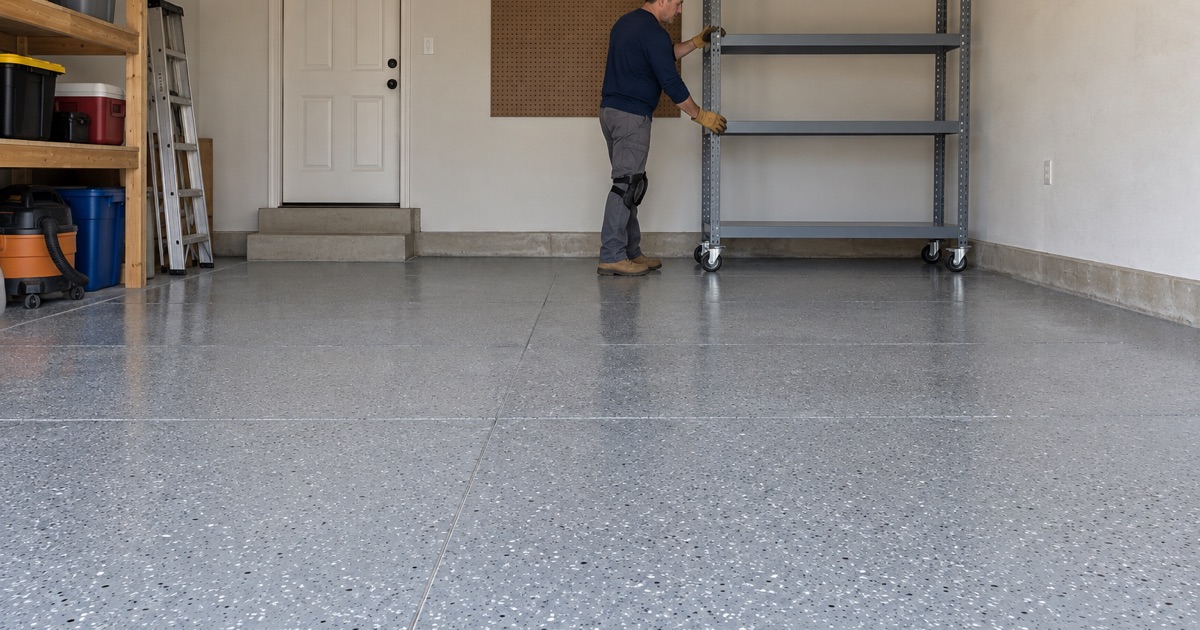
Flake comes in chip sizes from fine to large and in dozens of blends. Small chips give a tight granite-like speckle, while larger chips read as a bolder terrazzo look. A full broadcast hides dust and small imperfections best, which is why most garage owners choose it.
We bring sample boards so you can see a blend on the floor in your own garage light rather than on a screen. Gray and tan blends hide salt residue and tire dust between cleanings, while high-contrast blends with black and white chips make a stronger statement and show road film a little sooner.
Solid Color and Quartz Options
A solid color floor with a light texture suits a shop or a garage used as a workspace, where finding a dropped bolt matters. A quartz broadcast adds more aggressive grip for garages that see heavy snow melt, at the cost of a slightly rougher surface to clean.
Sheen and Sunlight
A gloss topcoat looks sharp on day one but shows dust and swirl marks sooner than satin. If your garage door stays open on summer afternoons, a UV-stable topcoat keeps the color from ambering where the sunlight reaches the floor.
Our Step-by-Step Epoxy Garage Floor Process
Step 1: Slab Check and Written Proposal
We look at the slab, map cracks, spalls and old coatings, and run a moisture screen. The proposal that follows names the product line, the number of coats and the finished thickness, and it says plainly if any part of the slab should be repaired or replaced first.
Step 2: Grinding and Repairs
On install day the floor is ground, vacuumed and repaired, with cracks and pits filled and ground flush. Control joints are either filled or kept open, a choice we settle with you before work starts.
Step 3: Base Coat and Broadcast
The base coat is rolled and squeegeed to thickness, and flake or quartz is broadcast into it while it is wet. The floor then cures before the excess is scraped off.
The coating runs up the first inch or so of the stem wall where you want a clean edge, and we mask the door track, the house steps and any floor drain. Those details are small, but they are where a rushed job looks rushed once the garage is back in use.
Step 4: Topcoat and Return to Service
The topcoat goes down last, followed by a walk-through. You get the cure schedule in writing, with separate times for foot traffic, light items and parking the car.
- 20+ Years on Iowa Slabs
- Moisture Tested Before Pricing
- Coats and Thickness in Writing